
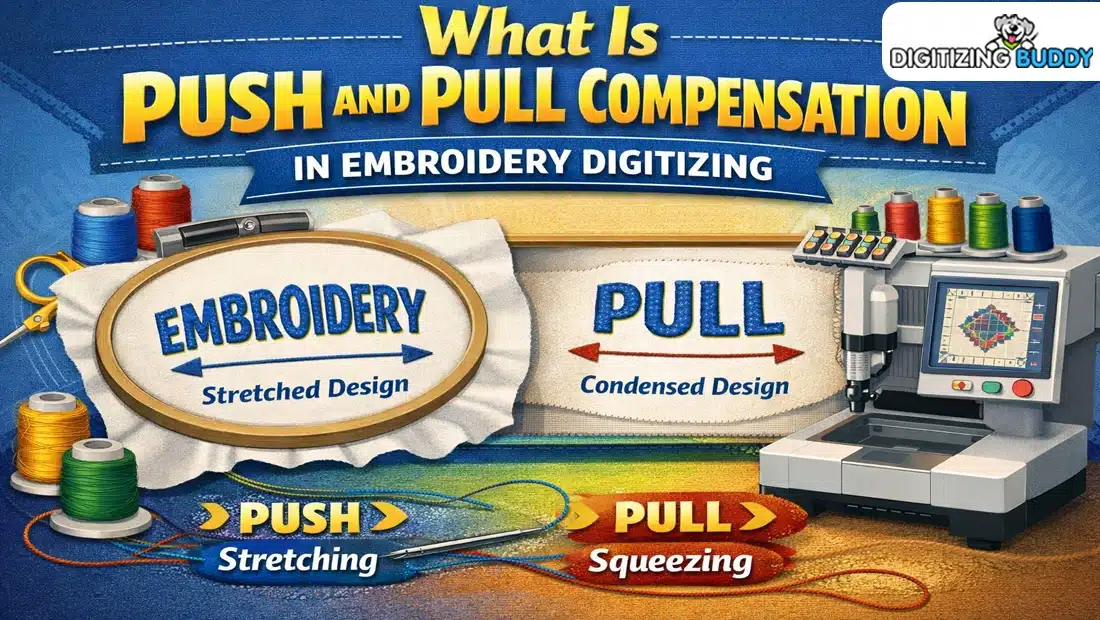
Embroidery looks simple from the outside. You load a design, press start, and wait. But in real work, things can go wrong. One common issue is design shift. The shape moves. Lines do not match. Edges look off. This can ruin your final result.Many beginners face this problem. I faced it too when I started. My designs looked fine on screen, but on fabric, they moved. Later, I learned that small factors cause big changes. Guides like Push and Pull Compensation Embroidery Digitizing helped me understand how stitches behave and how to control them.
What Does Design Shift Mean?
Design shift means the stitches do not stay in place. They move from their original path.
Simple Signs of Shift
- Outlines do not match fill areas
- Text looks uneven
- Shapes look stretched or squeezed
- Gaps appear between stitches
These signs tell you that your design is not stable.
Why Do Embroidery Designs Shift?
There is no one reason. Many small issues can cause this problem.
Fabric Movement
Fabric is not a hard surface. It moves when the needle hits it.
How Fabric Moves
When the needle goes in and out, it pulls the fabric. This causes stretch. The fabric may also shrink back after stitching.
My Experience Tip
Soft fabrics move more. Thick fabrics stay more stable. Always choose the right method for each fabric type.
Stitch Direction
Stitch direction affects how the fabric reacts.
What Happens
If stitches go in one direction, they pull fabric that way. This creates uneven shapes.
Example
A circle may turn into an oval.
My Experience Tip
Change stitch direction in large areas. This balances the pull.
Wrong Stitch Density
Density means how close stitches are.
Too High Density
- Fabric gets tight
- Design pulls inward
Too Low Density
- Gaps appear
- Design looks weak
My Experience Tip
Always test density. Small changes can fix big problems.
Poor Digitizing
Digitizing is the base of your design. If it is not done well, the result will fail.
Common Digitizing Issues
- No underlay
- Wrong stitch order
- Poor pathing
My Experience Tip
A clean design file solves many problems before stitching starts.
Hoop Issues
Hooping is very important.
Common Mistakes
- Fabric is too loose
- Fabric is too tight
- Wrong hoop size
My Experience Tip
The fabric should be tight like a drum. Not loose. Not over-stretched.
Stabilizer Problems
Stabilizer supports the fabric.
If You Use the Wrong One
- Fabric moves too much
- Design loses shape
My Experience Tip
Match stabilizer with fabric type. Light fabric needs strong support.
Thread Tension
Thread tension controls how stitches sit on fabric.
Problems with Tension
- Loose tension creates loops
- Tight tension pulls fabric
My Experience Tip
Check tension before every run. Do a small test.
Needle Type and Condition
The needle plays a big role.
Common Needle Issues
- Dull needle
- Wrong size
My Experience Tip
Change needles often. A sharp needle gives clean results.
How to Fix Design Shift
Now let’s talk about solutions. Fixing shift is possible with the right steps.
Use Proper Compensation
Compensation means adjusting your design to handle fabric movement.
Why It Works
It adds or reduces stitch width to balance push and pull.
My Experience Tip
Even small changes in compensation can fix outlines and gaps.
Improve Your Digitizing
A good design file is key.
What to Focus On
Underlay
It holds the base of stitches.
Stitch Order
Start from center. Move outward.
Pathing
Use smooth and clean paths.
Choose the Right Stabilizer
This is very important.
Types of Stabilizer
- Cut-away for stretch fabrics
- Tear-away for stable fabrics
My Experience Tip
When in doubt, use stronger support. It reduces movement.
Adjust Stitch Direction
Do not keep all stitches in one direction.
Why It Helps
It balances the pull across the design.
My Experience Tip
Split large areas into parts with different directions.
Set Correct Density
Density must match the fabric.
How to Adjust
- Reduce density for soft fabric
- Increase slightly for thick fabric
My Experience Tip
Always test before final work.
Hoop the Fabric Properly
Good hooping reduces movement.
Steps
- Place fabric flat
- Tighten evenly
- Check for wrinkles
My Experience Tip
Use spray adhesive if needed. It adds extra hold.
Do Test Runs
Never skip this step.
Why It Matters
Testing shows errors early.
My Experience Tip
Test on the same fabric. Do not guess.
Real-Life Example
I once worked on a logo for a cap. The text looked perfect on screen. But when stitched, the letters did not line up.
What Went Wrong
- No proper compensation
- Foam added extra pressure
- Stitch direction was wrong
How I Fixed It
- Added compensation
- Changed stitch angle
- Reduced density
The next run was clean and sharp.
Advanced Tips for Better Results
Once you learn the basics, try these tips.
Break Large Designs
Large areas create more pull.
Solution
Split them into smaller parts.
Use Edge Run Underlay
This supports edges.
Benefit
It keeps outlines clean.
Balance Push and Pull
Every stitch has force.
Goal
Balance these forces in design.
Keep Design Simple
Too much detail can cause issues.
Tip
Use bold shapes for better results.
Common Mistakes to Avoid
Avoid these errors to save time.
Ignoring Fabric Type
Each fabric behaves differently.
Using Same Settings for All Designs
One setting does not fit all.
Skipping Machine Maintenance
Dirty machines cause problems.
Rushing the Process
Take your time. Check each step.
Tools That Help Reduce Shift
Good tools make work easier.
Quality Thread
Strong thread reduces breaks.
Good Needles
Sharp needles give clean stitches.
Strong Hoops
Stable hoops hold fabric well.
Reliable Software
Good software helps in better digitizing.
Building Trust with Clean Work
If you run a business, quality matters.
Be Consistent
Keep your designs neat.
Use Good Materials
Do not use cheap supplies.
Test Every Design
Each project is different.
Practice Makes You Better
No one learns this in one day.
Start Small
Practice on simple designs.
Learn from Mistakes
Each error teaches you something.
Keep Improving
Try new methods and settings.
Final Thoughts
Design shift is a common problem in embroidery. But it can be fixed. You just need to understand the cause.
Focus on fabric, digitizing, and machine setup. Use the right tools. Test your work.
With time and practice, your designs will stay in place. They will look clean, sharp, and professional.
Keep learning. Keep testing. And enjoy the process of embroidery.
 jame.smith
  Ecceptsty
  enfieldroyalclinic